Desert Guides • March 22, 2026
How to Photograph the Dunes Without a Professional Camera
The light moves fast and the sand eats contrast. Six habits that get you photographs worth keeping, from a phone.
The desert is a difficult subject: enormous, low in contrast, and lit well for about forty minutes a day. These are the things that make the biggest difference, in order.
1. Shoot the hour, not the place
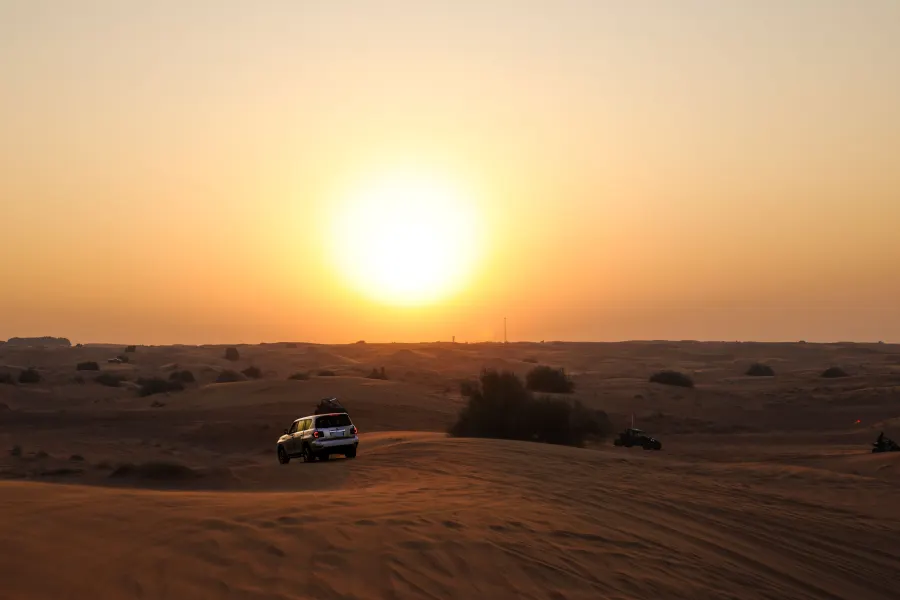
From roughly thirty minutes before sunset to fifteen minutes after, the low sun rakes across the dune faces and turns every ripple into a line of shadow. That texture is the photograph. At midday, the same dune is a flat beige wall.
2. Put something human in the frame
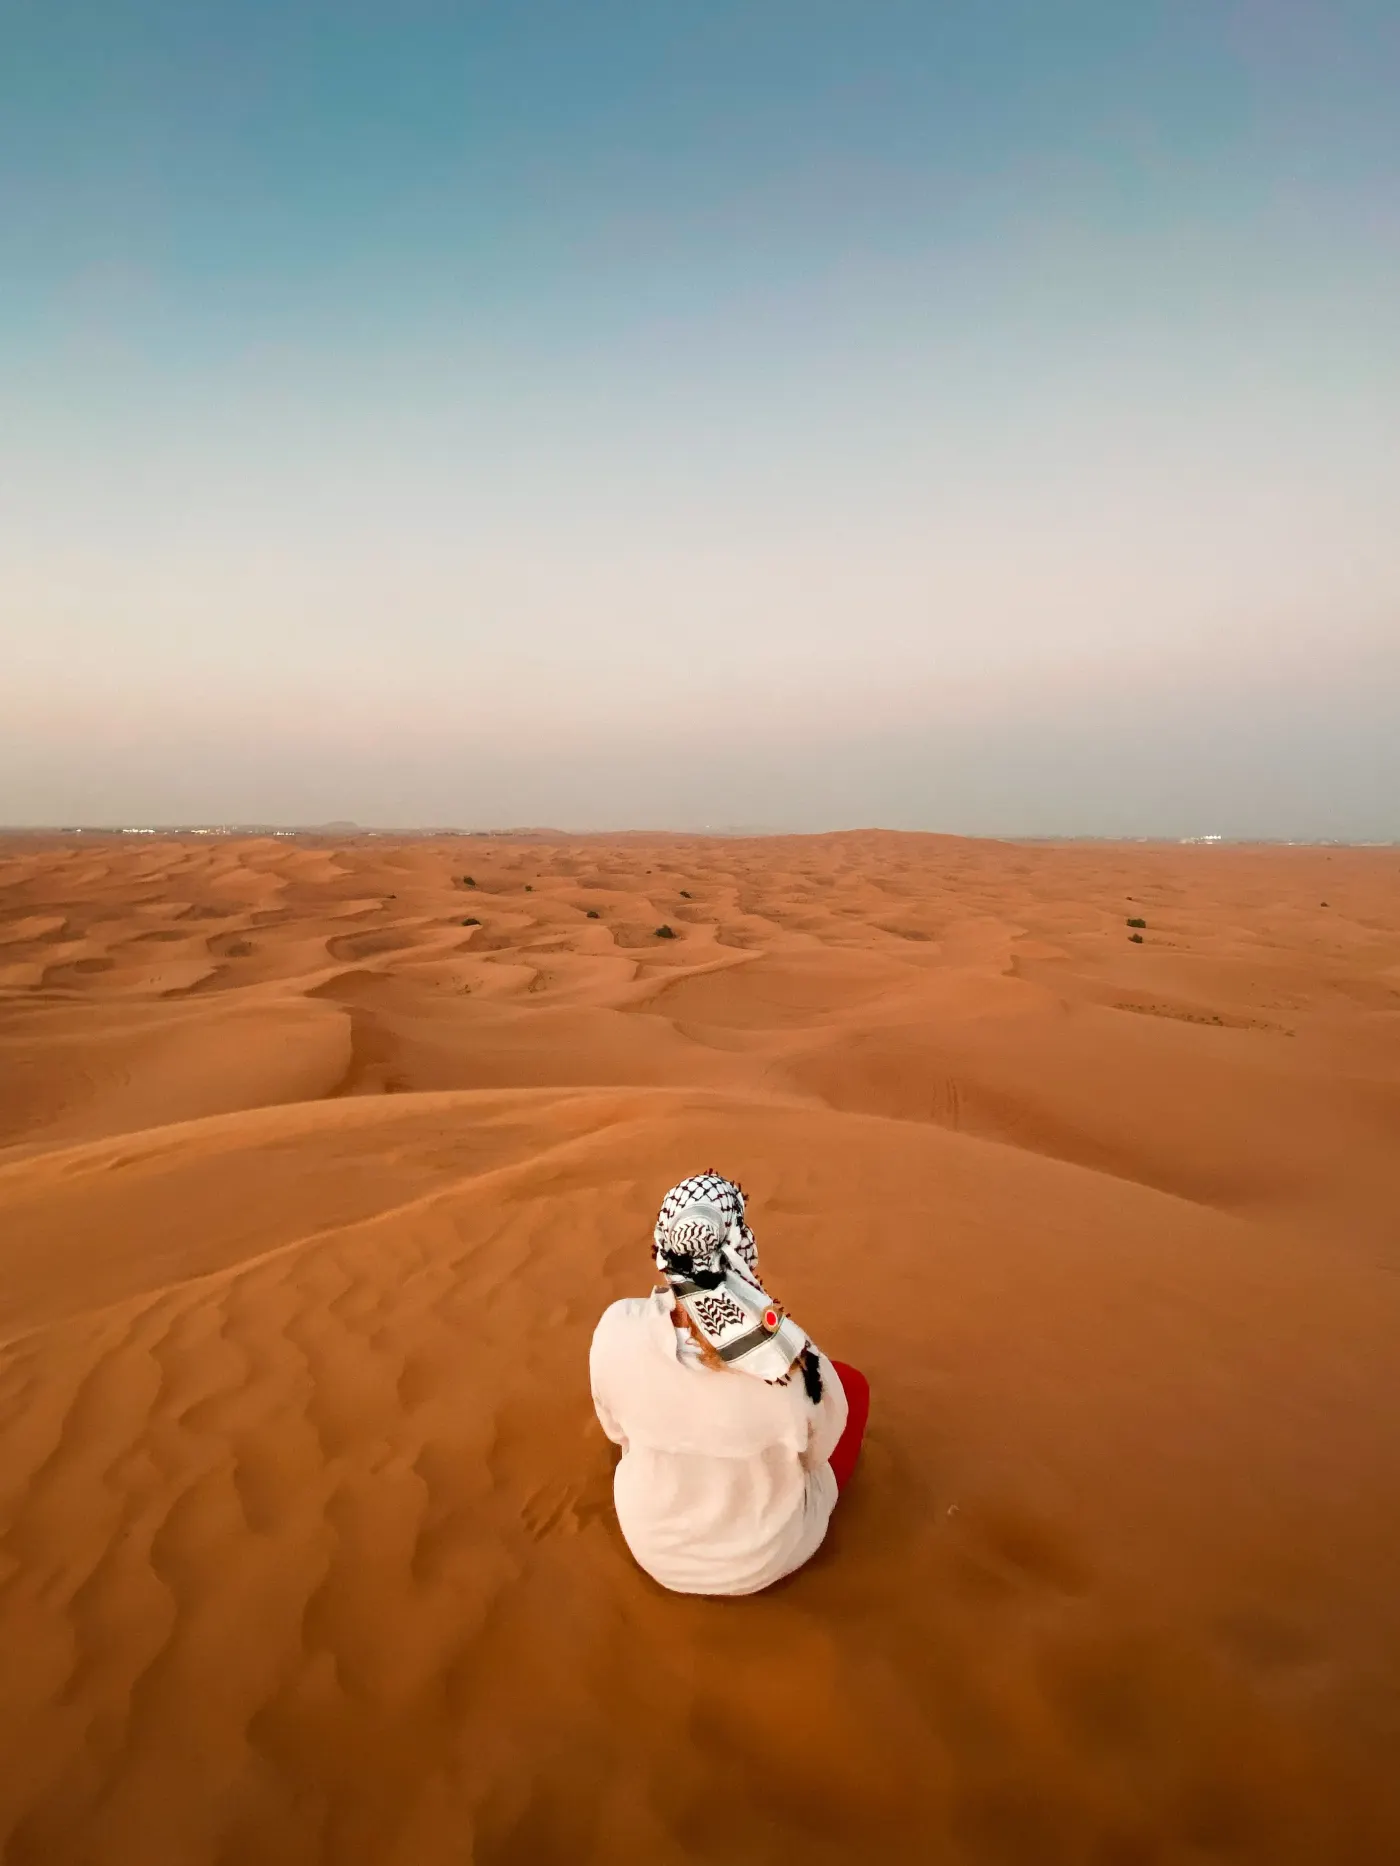
A dune has no scale of its own. One person on a crest, a single line of footprints, a 4x4 at the bottom of a slope — any of these turn "sand" into "big".
3. Get low
Crouch until your phone is close to the sand. Foreground ripples lead the eye into the frame and instantly separate your photograph from everyone else's chest-height snapshot.
4. Lock your exposure down
Phones over-expose bright sand and blow out the sky. Tap to focus, then drag the exposure slider down a notch or two. Slightly dark is recoverable; blown-out white is not.
5. Protect the lens
Fine sand in a moving vehicle gets into everything. Keep the phone in a pocket between shots, and wipe the lens with a cloth rather than your shirt — a sandy shirt scratches glass.
6. Stop shooting for the last ten minutes
Once the shows end and the camp lights dim, put the phone away and look up. You will not capture that sky on a phone, and trying costs you the only part of the evening that cannot be photographed anyway.
See it for yourself
Every safari on this site is run by our own drivers and camp crew, booked direct at the operator's price.